For aspiring video editors and professional filmmakers alike, DaVinci Resolve presents a powerful, all-in-one editing platform capable of handling everything from basic cuts to Hollywood-grade color correction. However, with its vast toolset and somewhat intimidating interface, newcomers often find themselves lost in a labyrinth of nodes, timelines, and settings. Fortunately, mastering the software doesn’t require selling your soul or sacrificing hours of hard work to undetected errors.
TL;DR – Master DaVinci Resolve Without a Meltdown
DaVinci Resolve is a robust and often overwhelming editing application, but with organized workflows and a few key habits, it becomes manageable. This guide walks through its main modules, useful tricks, and essential safety tips for keeping footage secure. Know the difference between the Cut and Edit pages, lean on autosave, and don’t fear the Fusion or Fairlight pages—they’re your friends. Whether you’re editing a vlog or a short film, these tips will save time and reduce stress.
Understanding the Layout: Know Your Editing Zones
Before diving into dragging clips onto the timeline, take a moment to understand Resolve’s modular layout. It’s divided into several ‘pages,’ which act like different workbenches for specific tasks:
- Media Page: Import and manage assets here.
- Cut Page: A simplified, fast-trimming interface for quick work.
- Edit Page: The powerhouse editing environment with full functionality.
- Fusion: Handles complex visual effects and motion graphics.
- Color: Industry-standard color grading tools.
- Fairlight: Professional audio editing and mixing suite.
- Deliver: Export your final product in any format you need.
Understand which page suits your current task. A common beginner mistake is trying to color grade in the Edit page or do audio mixing without touching the Fairlight page.
Avoiding Footage Nightmares: Backups and Autosaves
One of the fastest ways to lose your sanity is losing hours of work due to a crash or corrupted project. DaVinci Resolve, being a high-performance software, can occasionally buckle under pressure, particularly on lower-end systems. To keep your footage safe:
- Enable Autosave: Go to Preferences > User > Project Save and Load. Turn on Live Save and Project Backups. This creates a shield against sudden crashes.
- Use an External Drive: Store raw footage on an external SSD or HDD. This not only keeps your project folder organized but also reduces the risk of data loss.
- Use the “Archive Project” Feature: File > Archive Project will package your timeline and all media files safely.
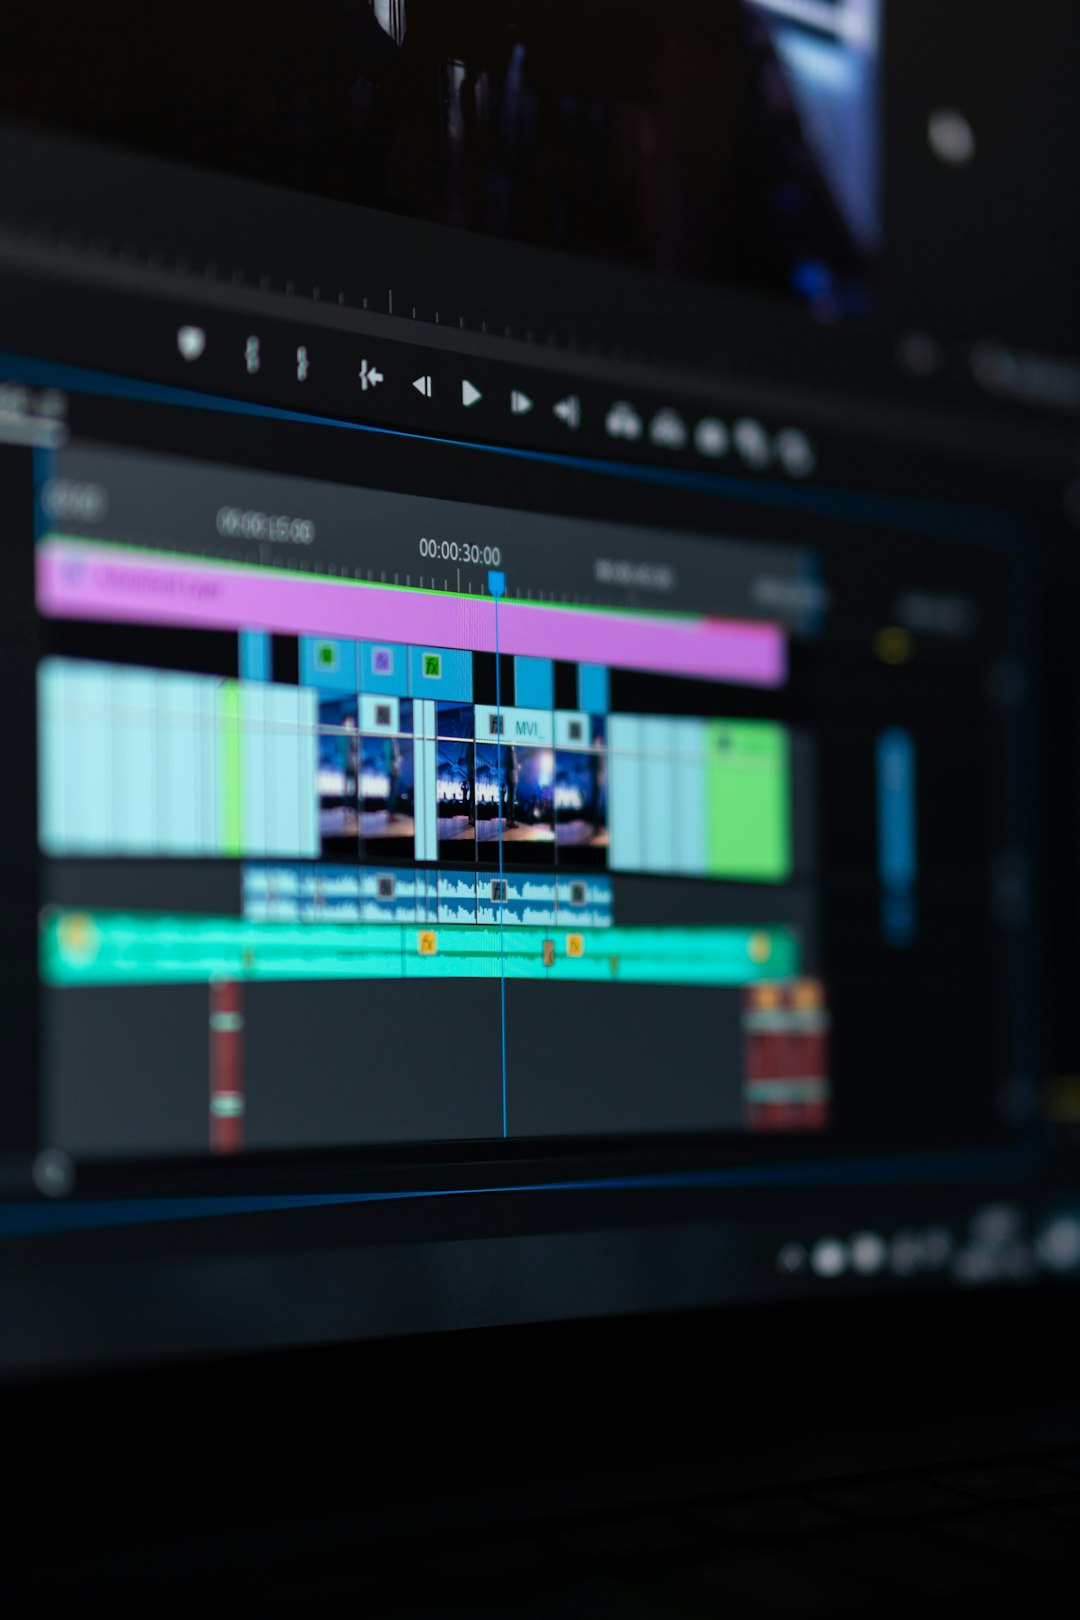
Conquering the Cut and Edit Pages: Make Smart Choices
DaVinci Resolve provides both Cut and Edit pages for a reason—they serve different purposes. Use them efficiently to streamline your workflow rather than allowing confusion to creep in.
- Cut Page: Ideal for quick edits, especially for content creators who churn out frequent videos and want to avoid fiddling with complex timelines. Think YouTubers or event videographers.
- Edit Page: Full timeline control, multi-track editing, animation keyframes, audio sync—this is where detailed storytelling happens. Perfect for short films, documentaries, and commercials.
Switching between the two is seamless, so don’t hesitate to begin in the Cut page and finish in Edit when refining your story.
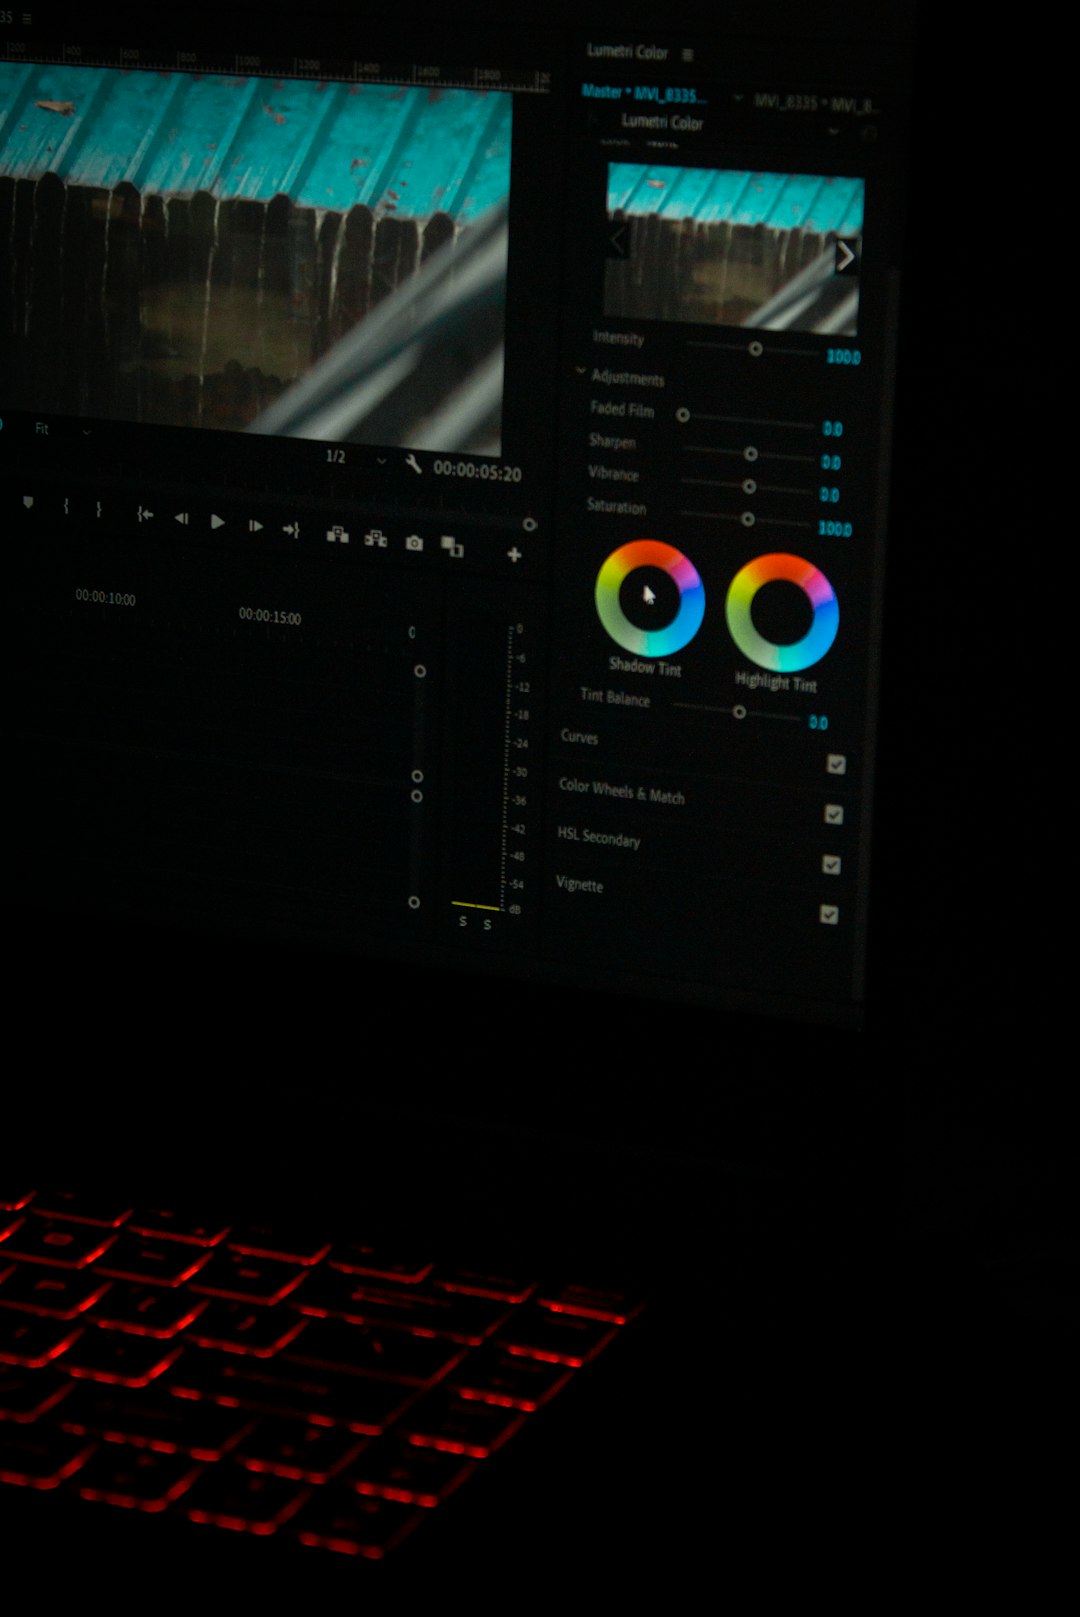
Using Color Grading Without a Degree in Cinematography
Color grading is one of DaVinci Resolve’s biggest draws, but it can seem intimidating. Thankfully, the Color page is modular and non-destructive, allowing users to experiment without fear.
Essential tips for beginners:
- Use LUTs as Starting Points: Don’t rely on them fully, but they can give you a strong look to build from.
- Understand the Node System: Think of nodes as individual adjustment layers. Start with a primary correction node, then add nodes for contrast, saturation, or special looks.
- Scopes Are Your Friends: Use Waveform, Parade, and Vectorscope to ensure balanced color instead of relying on the monitor’s look.

When Audio Gets Complicated: Meet Fairlight
Fairlight is a hidden gem. It may be tucked away after the Color page, but it offers pro-level audio mastering tools. This is particularly useful if your project involves dialogue, multiple music tracks, or complex sound design.
Beginner tips to keep in mind:
- Use Audio Buses: Group similar audio tracks (dialogue, music, effects) to control them as a whole.
- Add Noise Reduction: The Fairlight page includes fantastic built-in tools to remove background noise or hums.
- Monitor Levels: Keep your audio between -6 dB and -3 dB for voices to prevent distortion.
Export Wisely: Delivery Settings That Work
Nothing is more frustrating than editing for hours only to render a file that plays poorly or looks blurry. DaVinci Resolve’s Deliver page gives you professional export options, but only if configured correctly.
Useful export tips:
- Use Presets: For YouTube or Vimeo, use the built-in presets to ensure compatibility and clarity.
- Render in Individual Clips: Useful if collaborating with a VFX artist or outsourcing segments.
- Export with Handles: Leave a few extra frames at the beginning and end of each clip for flexibility during final refinement.
Power Tools: A Few Tools That Actually Speed You Up
After mastering the basics, add these workflow boosters to your arsenal:
- Adjustment Clips: Great for applying effects or titles across multiple clips without using compound clips.
- Compound Clips: Collapse complex timelines into mini-timelines. Ideal for organizing scenes.
- Quick Export: Found in the top-right corner, lets you rapidly export previews or drafts.
Final Words: Keep Experimenting and Stay Organized
DaVinci Resolve may not be the easiest NLE to learn, but its potential is unmatched. Whether you’re a beginner looking for simple cuts or an advanced editor crafting meaningful storytelling with color and audio, Resolve has the features—it’s just about learning them in digestible chunks. The more organized your project setup, the more mental bandwidth you’ll have for creativity instead of troubleshooting. So breathe deep, save often, and let your stories unfold without losing your nerve—or your files.
FAQs
- Is DaVinci Resolve really free?
- Yes, there is a free version with almost all the features available. The paid version, DaVinci Resolve Studio, adds some advanced tools like noise reduction, collaboration features, and extra effects.
- How much RAM do I need to run DaVinci Resolve smoothly?
- It’s recommended to have at least 16GB of RAM, although 32GB is ideal—especially if you’re working with 4K footage or doing advanced color work.
- Why does Resolve keep crashing?
- Crashes can be caused by incompatible GPU drivers, insufficient RAM, or working from unstable file formats. Always keep your software and drivers updated and use optimized media when possible.
- Can I use DaVinci Resolve on a laptop?
- Yes, although performance depends on the laptop’s GPU and RAM. For best results, use laptops with discrete GPUs from NVIDIA or AMD and at least 16GB RAM.
- Can I collaborate with others using DaVinci Resolve?
- Yes, but full collaborative features like shared databases and user profiles are only available in the Studio version.