Steam has become an essential platform for gamers across the globe, offering an ecosystem where games, friends, communities, and customization meet. One of its handy features is the ability to take quick screenshots in-game using a hotkey. However, not everyone is comfortable with the default screenshot button (usually F12), especially those who use Steam on a Steam Deck or have a unique keyboard setup. Fortunately, Steam offers users the flexibility to change the screenshot button to better fit their preferences.
In this guide, we’ll explore how to change the screenshot button on both traditional Steam Desktop and the Steam Deck, making your gaming and capturing experience more seamless. We’ll also throw in some expert tips on how to manage your screenshots and troubleshoot any issues along the way.
Why Change the Steam Screenshot Button?
Before we jump into the technical details, let’s look at a few solid reasons why you might want to change the default screenshot key:
- Conflicting Shortcuts: The default key (F12) might already be in use for game-specific functions or other system-level shortcuts.
- Ergonomics: You may prefer a key that’s more accessible during intense gameplay.
- Steam Deck Controls: The Steam Deck has a different button configuration, making customization essential for comfort and efficiency.
- Accessibility Needs: Users with certain physical constraints might benefit from a more readily accessible button.
Whatever your reason, learning how to customize this key is a great way to enhance your gaming experience.
How to Change the Screenshot Key on Steam Desktop
Changing your screenshot key in Steam on a regular PC or laptop is a straightforward process:
- Open the Steam client on your computer.
- In the upper-left corner, click on “Steam” and then select “Settings” from the dropdown menu.
- From the left-hand sidebar, choose “In-Game”.
- Look for the section labeled “Screenshot shortcut keys”.
- Click inside the input box, then press the key or key combination you want to use (e.g., Ctrl + P or Alt + S).
- Click “OK” or “Apply” to save your changes.
Note: Make sure the new key combination does not interfere with your computer’s system shortcuts or in-game controls.
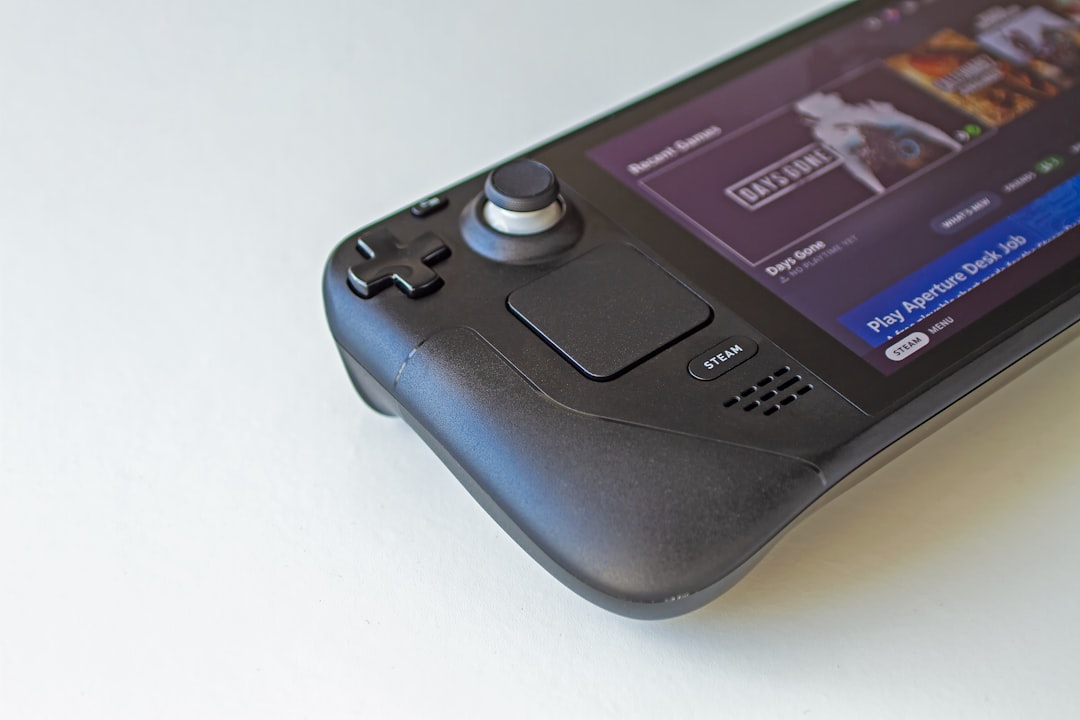
How to Change the Screenshot Button on the Steam Deck
Steam Deck provides a different kind of gaming experience with physical buttons rather than a full keyboard. Therefore, reconfiguring the screenshot button here requires a different approach. Thankfully, Valve’s controller configuration tool makes this possible.
Steps to Customize Screenshot Button on Steam Deck:
- From the Steam Deck home screen, press the STEAM button and go to Settings.
- Navigate to Controller and then Controller Settings.
- Here, select the current input configuration for your game or for Steam in general.
- Once in the configuration screen, tap on Edit Layout.
- Choose the button or button combination you want to assign to take a screenshot (for example, L4 or a double-tap on a touchpad).
- When prompted for the action, choose Take Screenshot from the available list.
- Exit and save your layout. You can also assign this layout for all games or only specific ones.
Now you can enjoy fast screen captures with your newly mapped button. It’s perfect for those intense gameplay moments you want to preserve with just a tap.
Where Do Steam Screenshots Go?
Once you’ve decided on your new screenshot shortcut, you’ll likely want to access those captures easily. Steam organizes screenshots in two ways: within Steam and within your local file explorer.
Viewing Screenshots in Steam:
- Click on “View” in the top bar of the Steam client.
- Select “Screenshots” from the dropdown menu.
- Use the selector to pick a specific game and browse all captured images.
Accessing Local Files:
The default filepath for screenshots on Windows is:
C:\Program Files (x86)\Steam\userdata\[Your Steam ID]\760\remote\[Game ID]\screenshots
On Steam Deck (Linux-based), the path may look more like:
/home/deck/.local/share/Steam/userdata/[Your Steam ID]/760/remote/[Game ID]/screenshots
You can also right-click any screenshot in the Steam screenshot viewer and select “Show on Disk” for quick access to the file location.
Screenshot Management Tips
When you’re capturing dozens or even hundreds of in-game shots, organizing them properly becomes essential. Here are a few key ways to manage your Steam screenshots effectively:
- Tag and Caption: Within the Steam Screenshot Uploader, you can add captions to your shots or tag them with relevant keywords to track your memories.
- Upload to Cloud: Enabling cloud synchronization will save your screenshots in your Steam Cloud, making them accessible from any device logged into your account.
- Create Albums: On your Steam profile, you can add screenshots to different albums or showcase your favorites as part of your community contributions.
Troubleshooting Common Issues
Even though changing your screenshot key is usually simple, a few hiccups might occur. Let’s look at how to troubleshoot the most common issues:
1. Screenshot Button Not Working
- Ensure Steam Overlay is enabled in both global and individual game settings.
- Check if the new button mapping conflicts with another shortcut.
- Try changing to a different key and test again.
2. Screenshot Not Saving
- Make sure there is enough disk space on the chosen drive.
- Check the file path where Steam stores screenshots to confirm they are appearing.
- Restart Steam in administrative mode to ensure correct permissions.
3. Steam Deck Button Mapping Not Applied
- Confirm the layout was saved and applied correctly.
- Reboot your Steam Deck to refresh controller settings.
- Update the Steam Deck OS to the latest version in case of bugs.
In most cases, following these steps fixes the issue without needing deeper technical knowledge.
Bonus: Use Third-Party Apps for Advanced Screenshot Tools
If you’re looking for more powerful screenshot features—like annotations, instant sharing, video captures, or high-resolution output—you might consider third-party tools such as:
- Gyazo – Quick screen grabbing with auto-upload and shareable links.
- Lightshot – Lightweight, customizable screenshot utility with instant editing.
- OBS Studio – While primarily a streaming app, it lets you capture stills and footage in custom formats.
These tools can run alongside Steam and make luxurious additions to any content creator’s arsenal.
Conclusion
Changing your screenshot button in Steam or on the Steam Deck is more than just a tweak—it’s a personalization that can improve your efficiency, comfort, and ability to document your favorite gaming moments. Whether you’re using a PC or rocking Valve’s impressive handheld console, the process is refreshingly user-friendly.
Now that you know how to remap your screenshot keys, don’t forget to dig deeper into Steam’s customization settings. Elevate your gaming experience and make your setup truly yours!