When your system suddenly refuses to boot, it can feel like all your components have failed at once. If you’re using the Gigabyte X570 Aorus Elite motherboard and are facing a black screen, boot loop, or no POST situation, you’re not alone. This board is powerful and reliable, but like any complex piece of hardware, it can experience startup issues due to BIOS problems, RAM instability, power misconfigurations, or hardware faults.
TLDR: If your X570 Aorus Elite won’t boot, start by checking power connections and reseating RAM and GPU. Clear the CMOS or update the BIOS using Q-Flash if the issue persists. Verify CPU compatibility and inspect for faulty components before assuming the motherboard is dead. In most cases, the issue can be resolved without replacing the board.
Common Symptoms of X570 Aorus Elite Not Booting
Before applying fixes, identify the exact symptom. Not all boot failures are the same, and diagnosing correctly will save time and prevent unnecessary component swaps.
- No power at all – No fans, no lights, no movement.
- Power but no display – Fans spin, RGB lights up, but no video output.
- Boot loop – System turns on and off repeatedly.
- Stuck on motherboard logo – Cannot enter BIOS or move beyond splash screen.
- Debug LEDs active – CPU, DRAM, VGA, or BOOT LED remains lit.
Understanding which of these symptoms you’re facing narrows down the troubleshooting steps significantly.
Step 1: Check All Power Connections
It may sound basic, but loose or incorrect power connections are one of the most common causes of boot issues.
Ensure:
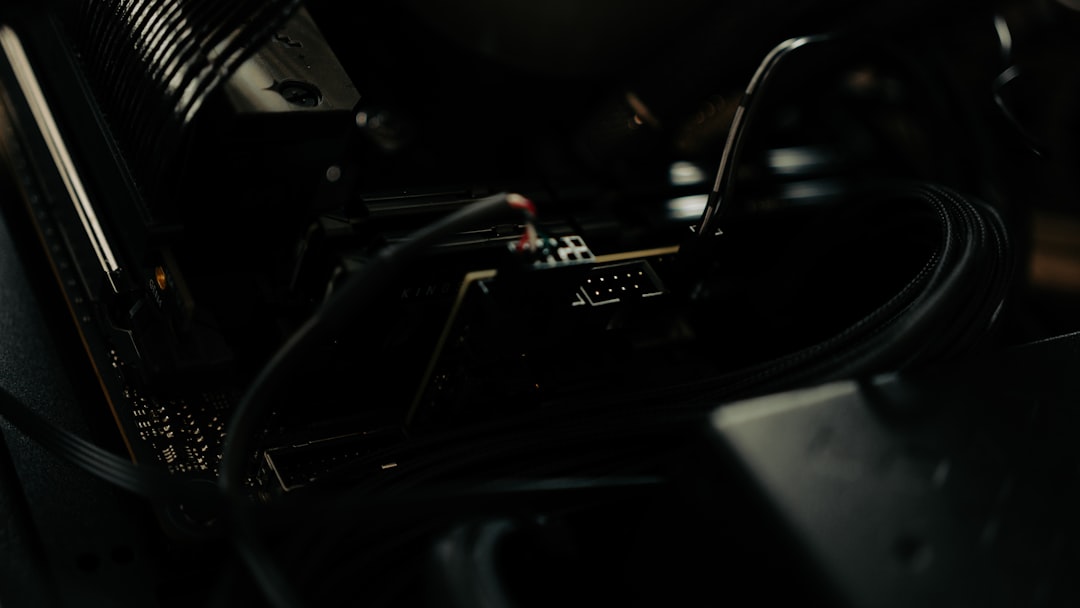
- The 24-pin ATX power connector is fully seated.
- The 8-pin CPU power connector near the top-left of the board is securely connected.
- Your PSU switch is turned on.
- The front panel case connectors (Power SW) are attached properly.
If your PSU is modular, double-check that the cables are plugged in firmly on the PSU side as well. A partially connected CPU cable can cause the system to power on without POST.
Step 2: Reseat RAM and Try Single-Channel Boot
Faulty or improperly seated memory is another common culprit.
Do the following:
- Turn off the PSU and unplug the system.
- Remove all RAM sticks.
- Insert only one stick into slot A2 (second slot from the CPU).
- Try booting again.
If it boots, shut down and test each stick individually to identify a faulty module. Also ensure your memory is listed on Gigabyte’s QVL (Qualified Vendors List), especially if running high-frequency RAM (3600MHz and above).
Sometimes enabling XMP profiles causes instability. Clearing CMOS (next step) often resolves this.
Step 3: Clear CMOS to Reset BIOS
If your board powers on but refuses to POST or gets stuck after a configuration change, resetting the BIOS can restore stability.
How to clear CMOS:
- Disconnect power completely.
- Remove the CMOS battery for 5–10 minutes.
- Alternatively, use the Clear CMOS jumper if accessible.
- Reinsert the battery and reconnect power.
This resets BIOS settings to default. If a bad memory overclock, CPU voltage tweak, or incompatible setting was blocking boot, this often fixes it immediately.
Step 4: Update BIOS Using Q-Flash Plus
Many X570 Aorus Elite boot issues stem from BIOS incompatibility with certain Ryzen CPUs, especially newer generations.
If you’ve upgraded to a Ryzen 5000 series CPU and the board hasn’t been updated, it may not boot at all.
The X570 Aorus Elite features Q-Flash Plus, allowing BIOS updates without CPU or RAM installed.
Steps:
- Download the latest BIOS from Gigabyte’s official website.
- Rename the BIOS file as instructed (usually GIGABYTE.bin).
- Format a USB drive to FAT32 and copy the file.
- Insert USB into the white Q-Flash USB port.
- Press the Q-Flash Plus button on the rear I/O panel.
If the LED flashes, the update is in progress. Wait until it finishes before powering off.
This process resolves many “no boot” scenarios caused by CPU recognition issues.
Step 5: Inspect CPU Installation
If the CPU debug LED stays on, the processor may not be seated correctly or may have bent pins.
Carefully remove the cooler and CPU, then inspect:
- Any bent or missing pins.
- Thermal paste contamination in the socket.
- Improper alignment when installed.
Even slightly bent AM4 pins can prevent booting. If discovered early, they can sometimes be carefully aligned with a fine tool — but proceed cautiously.
Step 6: Check GPU and Display Connections
If your system powers on but shows no display output, the issue may not be the board at all.
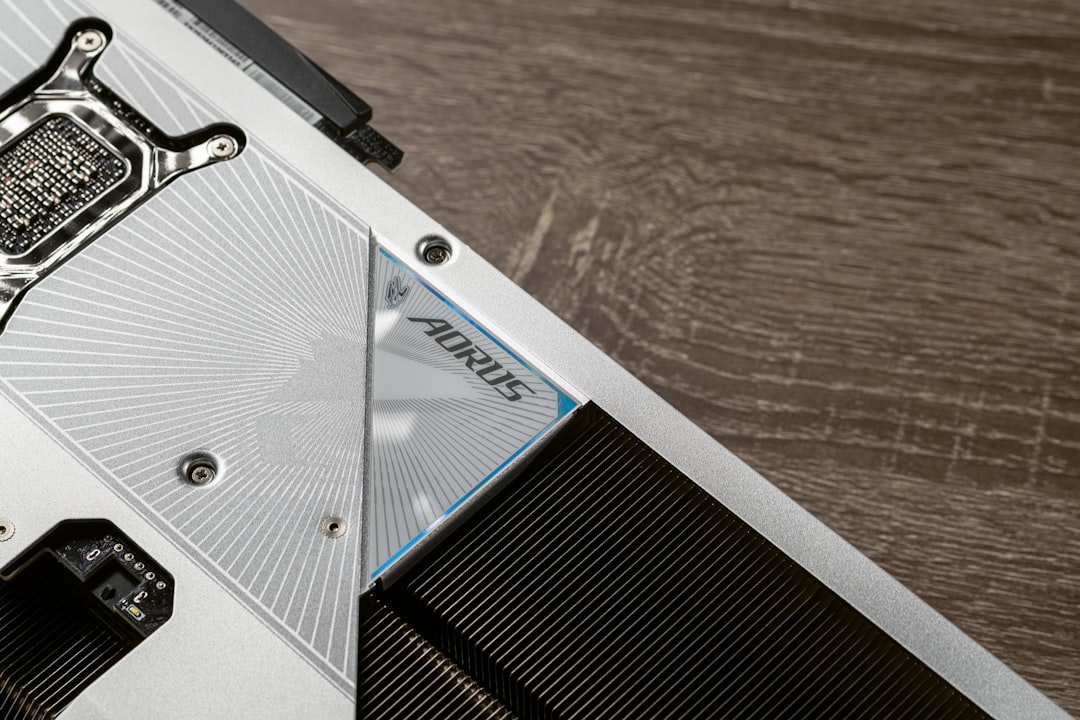
- Ensure your GPU is fully inserted into the PCIe slot.
- Connect your display cable to the GPU, not the motherboard (unless using an APU).
- Try a different HDMI/DisplayPort cable.
- Test another PCIe slot if available.
Remember: Most Ryzen CPUs do not have integrated graphics. If you don’t have a GPU installed and you’re not using a Ryzen “G” series processor, you will get no display output.
Step 7: Check Debug LEDs
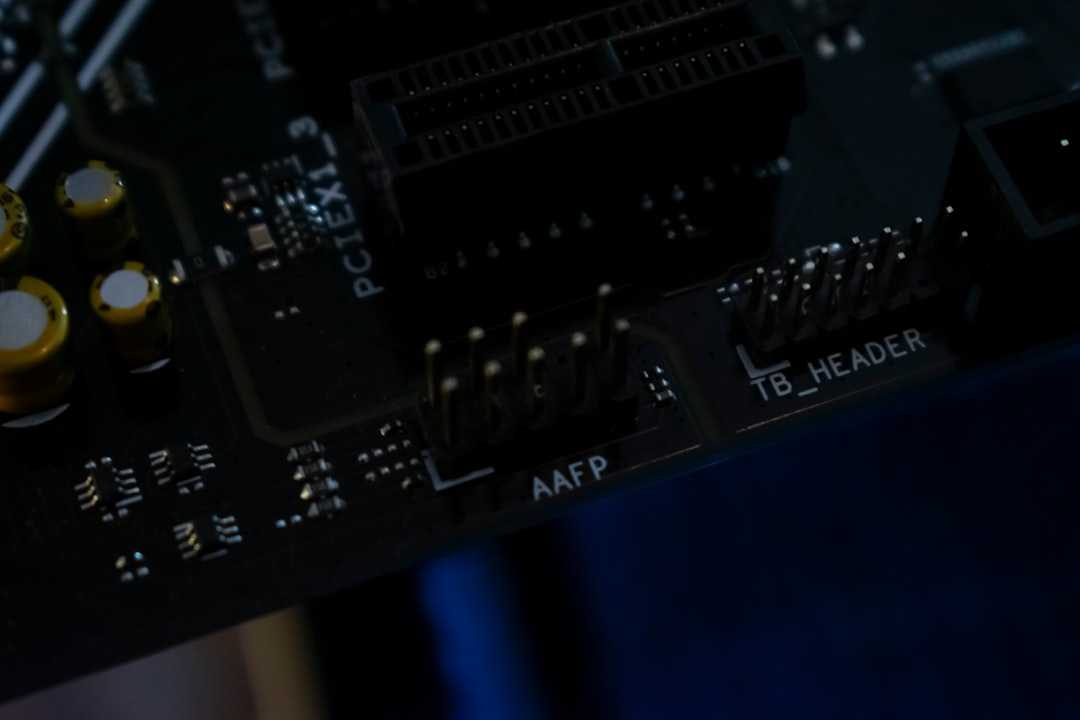
The X570 Aorus Elite features onboard diagnostic LEDs labeled:
- CPU
- DRAM
- VGA
- BOOT
If one remains lit, it indicates where the boot process is failing.
Interpretation:
- CPU LED: Processor not detected or defective.
- DRAM LED: Memory not recognized.
- VGA LED: Graphics card problem.
- BOOT LED: System cannot find boot drive.
This feature significantly simplifies troubleshooting. Use it as your primary diagnostic guide.
Step 8: Test with Minimal Components
If issues persist, strip the system to essentials:
- Motherboard
- CPU with cooler
- One stick of RAM
- GPU
- PSU
Disconnect all storage drives, front USB headers, additional fans, and RGB accessories. Attempt to boot outside the case (breadboarding). This eliminates the possibility of a short circuit caused by improper standoff placement.
Step 9: Evaluate the Power Supply
A failing PSU can deliver enough power to spin fans but insufficient stable current to POST.
Signs of PSU issues:
- System shuts down instantly.
- Random restart loops.
- No response despite correct cable connections.
If possible, test with a known working PSU. Ensure wattage is adequate for your CPU and GPU combination.
Step 10: Storage Drive or Boot Order Issues
If the BOOT LED is active and you can access BIOS, the motherboard may not detect your operating system.
Check:
- NVMe drive properly installed.
- SATA cables securely connected.
- Boot order correctly set in BIOS.
- CSM/UEFI settings compatible with your OS installation.
Incorrect UEFI configuration can prevent boot even when hardware is fine.
When the Motherboard May Actually Be Faulty
After exhausting all troubleshooting:
- You’ve tested alternative RAM, PSU, and GPU.
- CPU works in another board.
- Clear CMOS and BIOS update did not help.
- No debug LEDs light up at all.
At this stage, an RMA may be appropriate. While rare, DOA (dead on arrival) boards or electrical damage do happen.
Preventing Future Boot Issues
Once your system is running again, take preventive steps:
- Keep BIOS updated.
- Avoid unstable overclocks.
- Use a surge protector or UPS.
- Ensure proper airflow to prevent overheating VRMs.
The X570 Aorus Elite is built with strong VRM components and is generally reliable when configured properly.
Final Thoughts
A non-booting X570 Aorus Elite does not automatically mean a dead motherboard. In most cases, the issue stems from memory instability, BIOS incompatibility, power misconfiguration, or improper installation. By following a structured troubleshooting process — checking connections, clearing CMOS, updating BIOS, and isolating components — you can identify the root cause systematically.
Approach the problem calmly and methodically. Avoid replacing parts blindly. With careful diagnostics, most boot failures can be resolved without significant expense, restoring your system to full functionality.