Smartphone photography has evolved dramatically in the past decade, turning everyday users into skilled content creators. While camera sensors and software get much of the attention, one powerful feature often goes underused or misunderstood: the LED flash and fill light. When used correctly, these small but mighty light sources can dramatically improve clarity, correct shadows, and enhance mood—without the need for expensive equipment.
TLDR: Your smartphone’s LED flash and fill light can dramatically improve photo and video quality when used strategically. Use flash sparingly for balanced exposure, and rely on fill light to soften shadows and enhance detail. Adjust angles, distance, and brightness to avoid harsh lighting. With a few simple techniques, you can transform flat or dark images into polished, professional-looking shots.
Understanding Smartphone LED Flash vs. Fill Light
Before diving into technique, it’s important to understand the difference between flash and fill light.
- LED Flash: A burst of bright light that activates when taking a photo. It is typically intense and short-lived.
- Fill Light: A softer, more continuous light source used to brighten shadows without overwhelming the image.
Many smartphones now allow you to adjust flash intensity or use the flashlight feature as a continuous fill source when shooting photos or video. Portrait modes and third-party apps often expand these controls even further.
When to Use LED Flash
The LED flash is most effective in low-light environments where the camera sensor struggles to capture detail. However, using it effectively requires strategy.
Best Situations for Flash
- Extreme low light: Indoors at night or poorly lit environments.
- Backlit subjects: When your subject is darker than the bright background.
- Freeze motion: Short flash bursts can reduce motion blur.
- Close-up photography: Great for documents, small objects, and quick macro shots.
Common Flash Mistakes
- Holding the phone too close to the subject
- Using flash with reflective surfaces (glass, mirrors, shiny skin)
- Ignoring harsh shadows behind the subject
- Using flash in already well-lit conditions
Pro Tip: Step back slightly and zoom in digitally instead of standing too close. This softens the light’s impact and reduces harsh highlights.
How to Use Fill Light Effectively
Fill light solves one of the most common photography issues: deep, unattractive shadows. Unlike flash, fill light is about balance, not dominance.
What Fill Light Does
- Reduces under-eye shadows
- Softens contrast
- Enhances facial features
- Maintains natural skin tones
- Creates more balanced exposure
Many smartphones offer “screen flash” for selfies, which brightens the display to illuminate your face. This is technically a fill light and produces much softer results than rear LED flash.
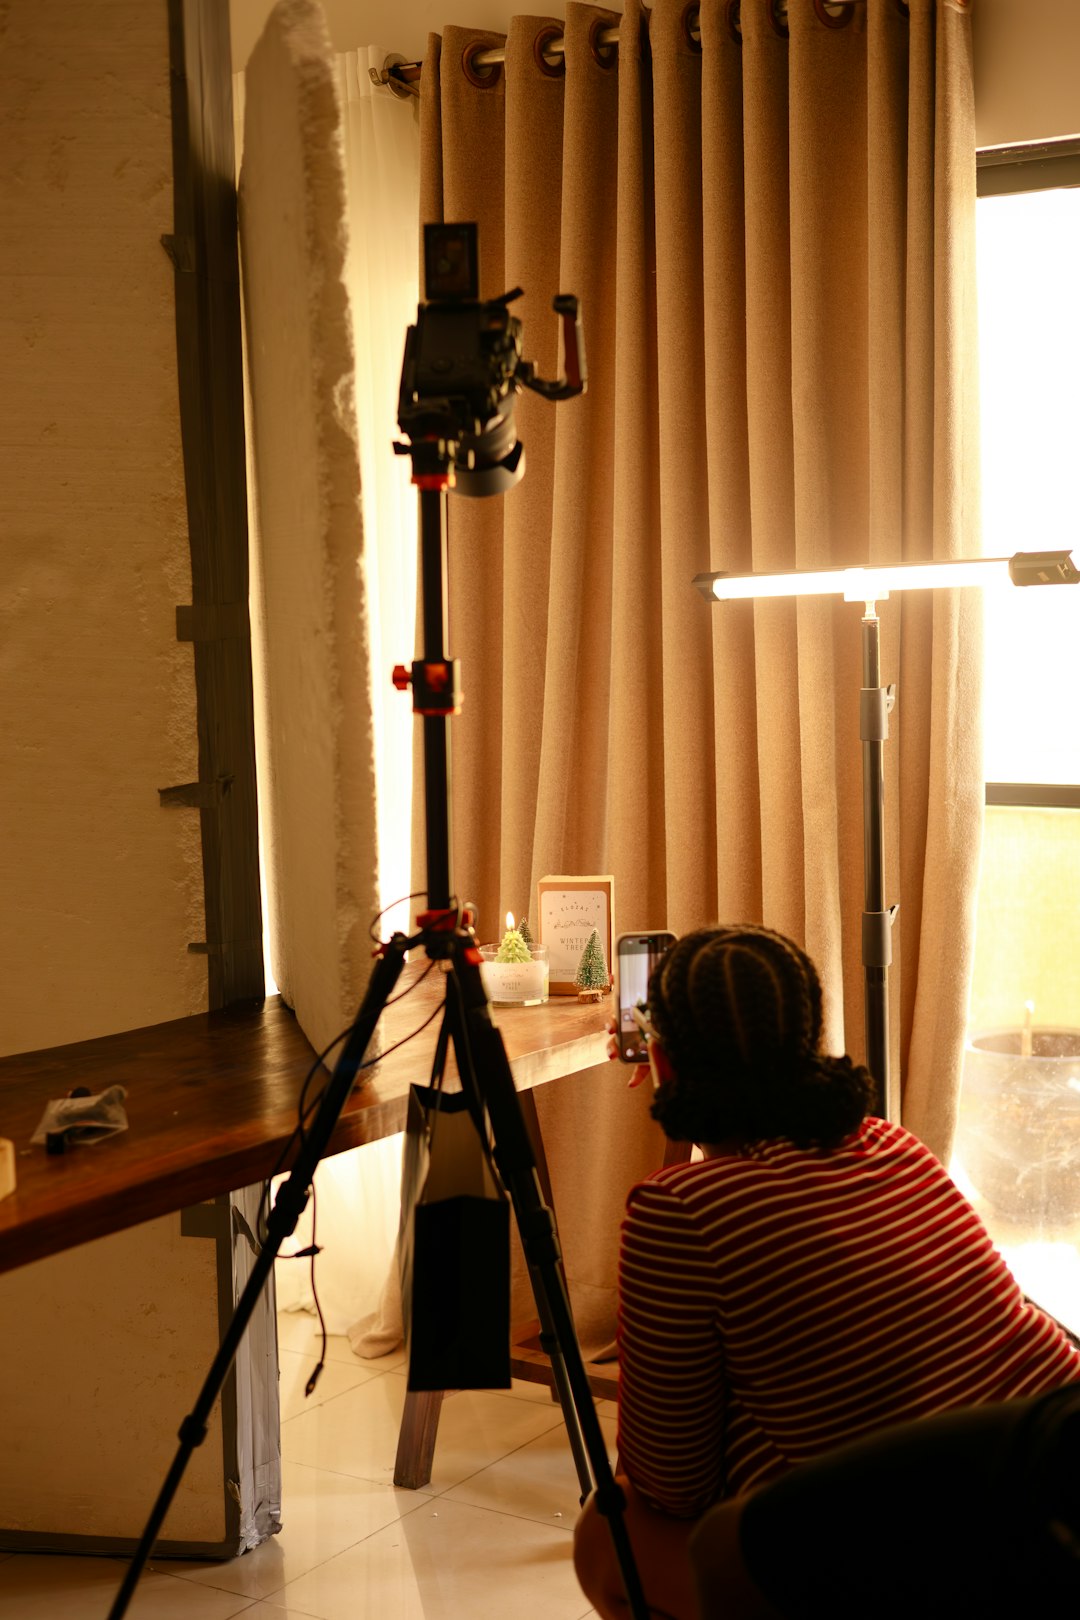
For Video Creators
Using the flashlight mode as continuous fill lighting during video is a powerful trick. However, avoid shining the light directly at eye level. Instead:
- Position the light slightly above eye level
- Angle it 15–45 degrees to one side
- Diffuse it by placing a thin white tissue over the LED (safely and without overheating)
Controlling Light Intensity and Direction
Light direction matters more than brightness alone. Even with limited control, you can manipulate angles and distance to dramatically improve results.
Distance Matters
The closer your light source is to the subject, the brighter and harsher it becomes. Move back to reduce intensity naturally.
Change the Angle
- Direct front: Flattens features, reduces texture
- Side angle: Adds depth and dimension
- Top angle: Natural daylight simulation
- Low angle: Dramatic, cinematic, sometimes unflattering
Experiment with subtle movements. Even shifting your phone a few inches can dramatically alter shadow placement.
Using External Fill Light Accessories
Although built-in smartphone lighting is convenient, clip-on LED lights and portable ring lights can elevate results significantly.
Popular Smartphone Lighting Options
| Feature | Built-in LED Flash | Screen Fill Light | Clip-On LED Light | Mini Ring Light |
|---|---|---|---|---|
| Brightness | High burst | Low to moderate | Adjustable | Adjustable |
| Control Over Direction | Fixed position | Front facing only | Flexible | Even distribution |
| Best For | Quick low light shots | Selfies | Content creators | Beauty and close up video |
| Portability | Built in | Built in | Very portable | Portable |
| Cost | Free | Free | Affordable | Affordable to moderate |
If you regularly shoot indoors or create social media videos, investing in an adjustable external light offers better results than relying solely on your phone’s flash.
Creative Uses for Smartphone Flash
Flash isn’t just a technical fix—it can also be a creative tool.
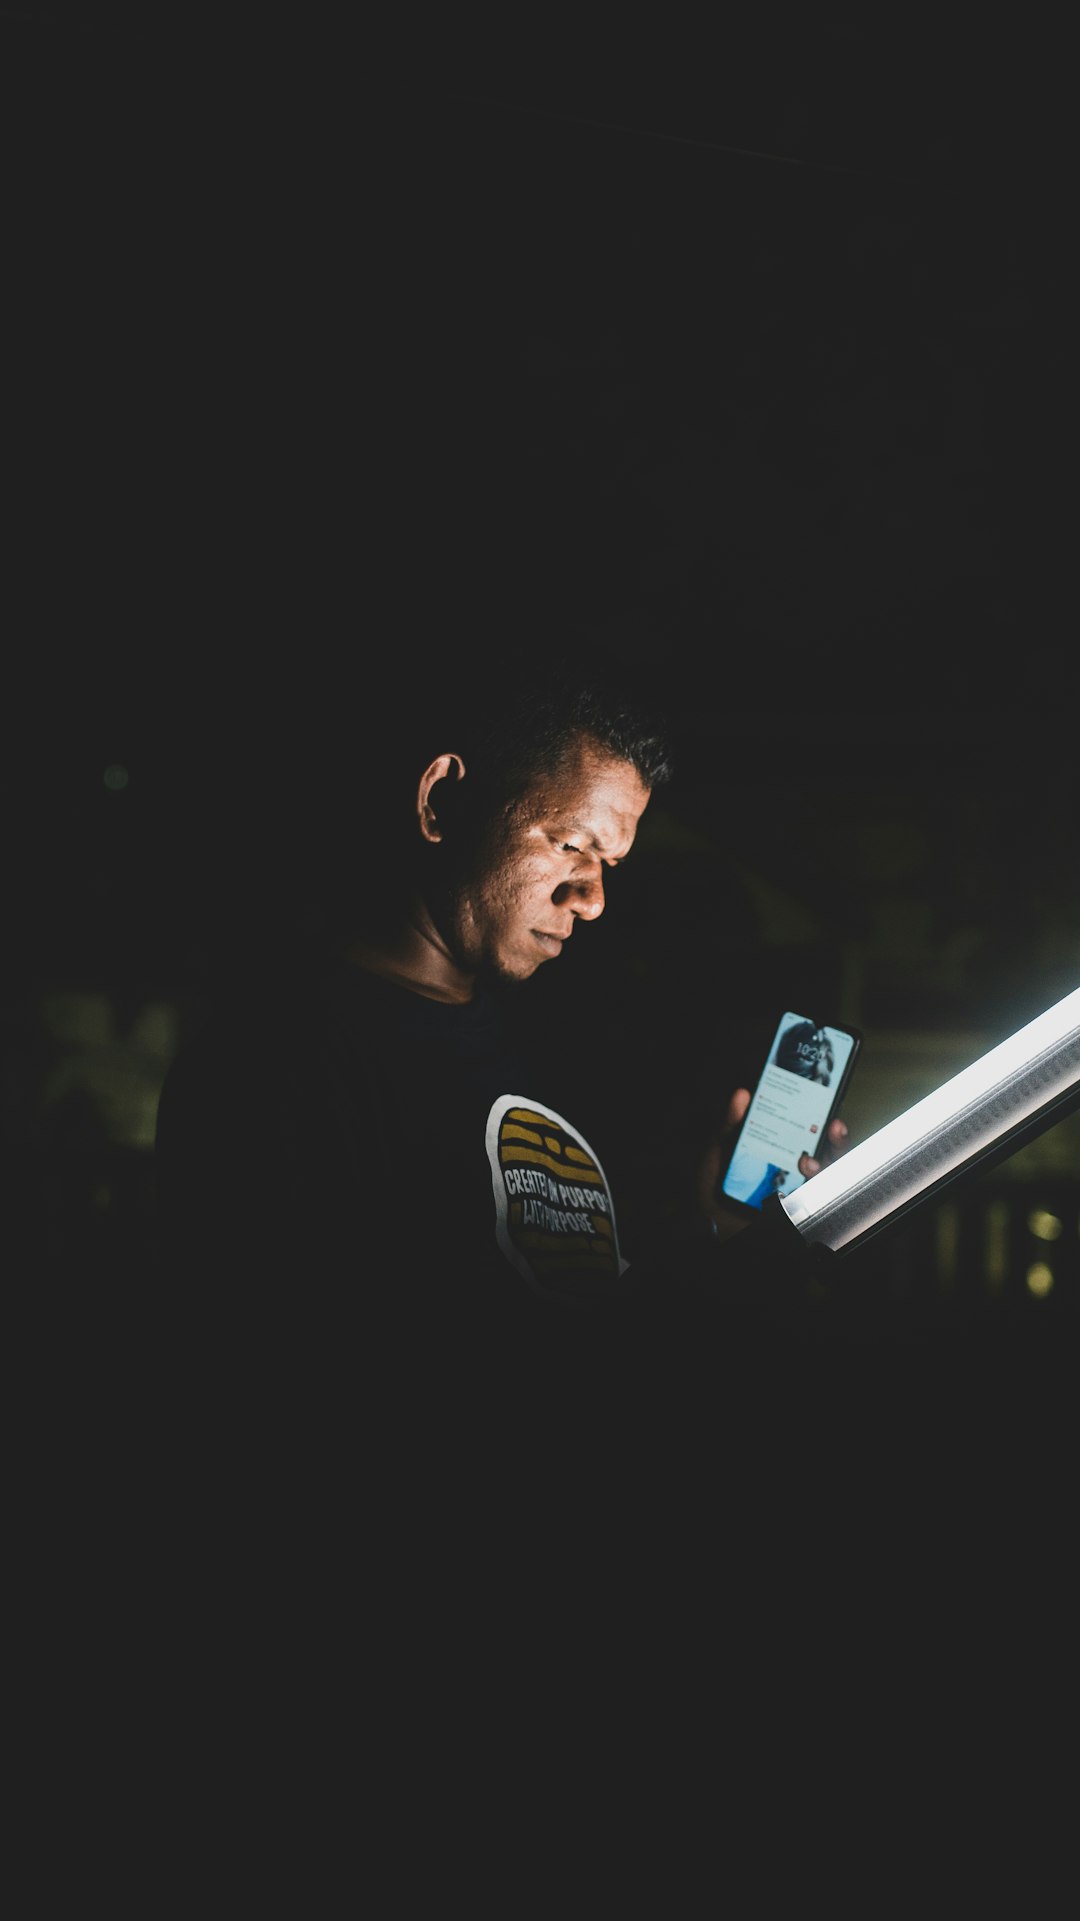
1. Dramatic Low-Light Portraits
Use flash in a dark environment to isolate your subject against a black background. This technique creates bold, high-contrast imagery often used in editorial photography.
2. Reflection Effects
Shoot through glass or transparent materials with flash to create interesting light flares and reflections.
3. Freeze Action
Snap photos during movement—jumping, dancing, splashing water. The flash helps capture sharp, crisp detail.
Balancing Flash with Ambient Light
The most flattering results usually come from blending flash with existing light.
- Dim artificial lighting: Use flash sparingly to enhance detail.
- Golden hour: Avoid flash and rely on natural warmth.
- Indoor daylight near windows: Use fill light to reduce side shadows.
Some smartphones offer “Auto Flash,” but automatic settings may not always make the best artistic decision. If available, experiment with manual controls or third-party camera apps.
Improving Skin Tones and Texture
Harsh flash can exaggerate texture, create shine on oily skin, and produce red-eye. To avoid these issues:
- Reduce flash intensity manually (if your device allows it)
- Increase distance
- Use diffusing material
- Avoid direct eye alignment
- Use portrait mode to soften the background
Quick fix: Ask your subject to slightly angle their face instead of facing the camera straight on. This reduces glare and enhances dimension.
Shooting Video with LED Lighting
When filming video, consistency matters more than brightness. Flickering lights or uneven exposure can ruin otherwise great footage.
Tips for Better Video Lighting
- Use continuous LED instead of flash bursts
- Maintain consistent distance
- Avoid lighting from directly below
- Combine natural light with fill light
- Lock exposure in your camera settings
If recording talking-head videos, position your fill light at a slight angle rather than front-and-center. This produces depth and avoids the “flat passport photo” effect.
Battery Considerations
Using LED flash and continuous fill drains battery life faster than standard shooting.
- Lower brightness when possible
- Turn off flashlight immediately after use
- Carry a portable charger for extended sessions
External lighting accessories typically have their own rechargeable batteries, reducing strain on your phone.
Final Thoughts
Smartphone LED flash and fill light are powerful tools hiding in plain sight. While they can produce harsh results if used carelessly, they can also elevate your images dramatically when understood and controlled.
The key principles are simple:
- Light should enhance, not overpower
- Distance softens intensity
- Angle creates depth
- Diffusion reduces harshness
- Balance is everything
Master these fundamentals, and you’ll discover that even the smallest light source—your phone’s built-in LED—can make a significant difference. Whether you’re capturing candid moments, creating social content, or experimenting with artistic photography, learning how to shape light gives you creative control and better results every time.