
Rapid prototyping with 3D printing has become one of the most practical ways to turn an idea into a physical object quickly, affordably, and with relatively low technical barriers. For beginners, it offers a structured path from concept to testable model without needing expensive tooling, large production runs, or advanced manufacturing facilities. Whether you are developing a product, testing an engineering part, creating a medical model, or refining a consumer item, 3D printing can help you learn faster and make better design decisions.
TLDR: Rapid prototyping with 3D printing allows you to create, test, and improve physical designs faster than traditional manufacturing methods. Beginners should start with a clear design goal, choose the right printing technology and material, and expect several rounds of iteration. The most successful prototypes are not necessarily perfect; they are built to answer specific questions about fit, form, function, or usability.
What Is Rapid Prototyping?
Rapid prototyping is the process of quickly creating a physical or digital model of a product, component, or design so it can be evaluated before final production. In the past, prototypes often required machining, hand fabrication, molds, or outsourced manufacturing. These methods could be slow, expensive, and difficult to revise.
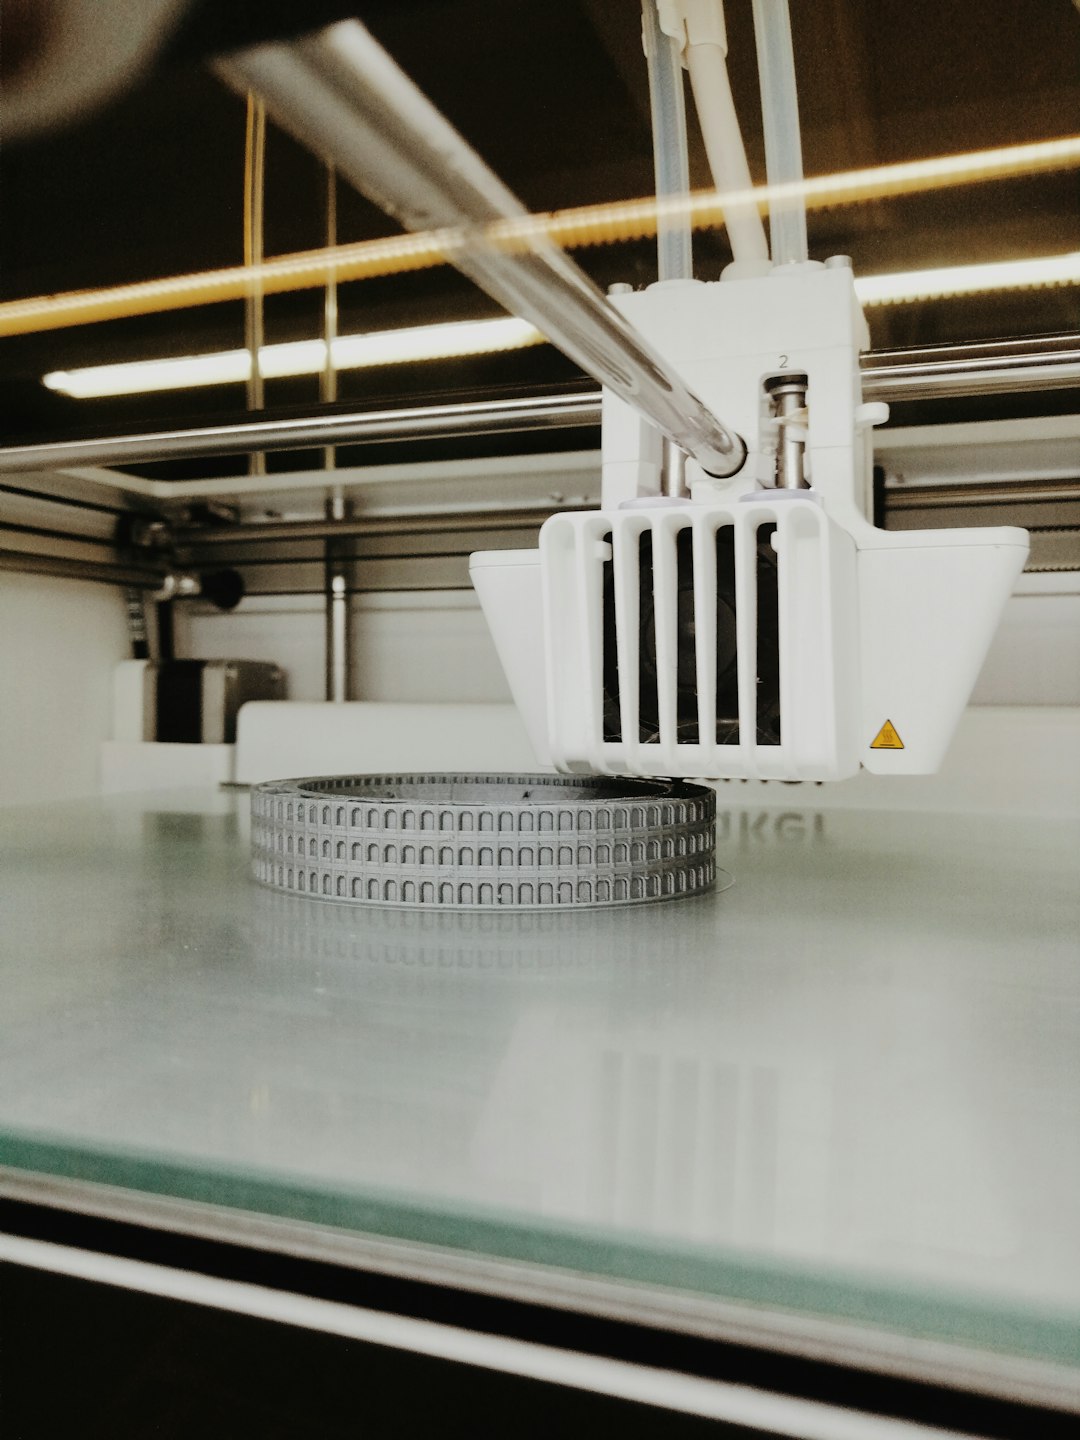
With 3D printing, also known as additive manufacturing, objects are built layer by layer from a digital file. This makes it possible to produce complex shapes, revise designs quickly, and test multiple versions without investing in production tooling. For beginners, this is especially valuable because it encourages experimentation while reducing the cost of mistakes.
Rapid prototyping is used in many fields, including product design, automotive engineering, architecture, healthcare, education, robotics, packaging, and consumer electronics. The core principle is simple: build, test, learn, and improve.
Why 3D Printing Is Useful for Prototyping
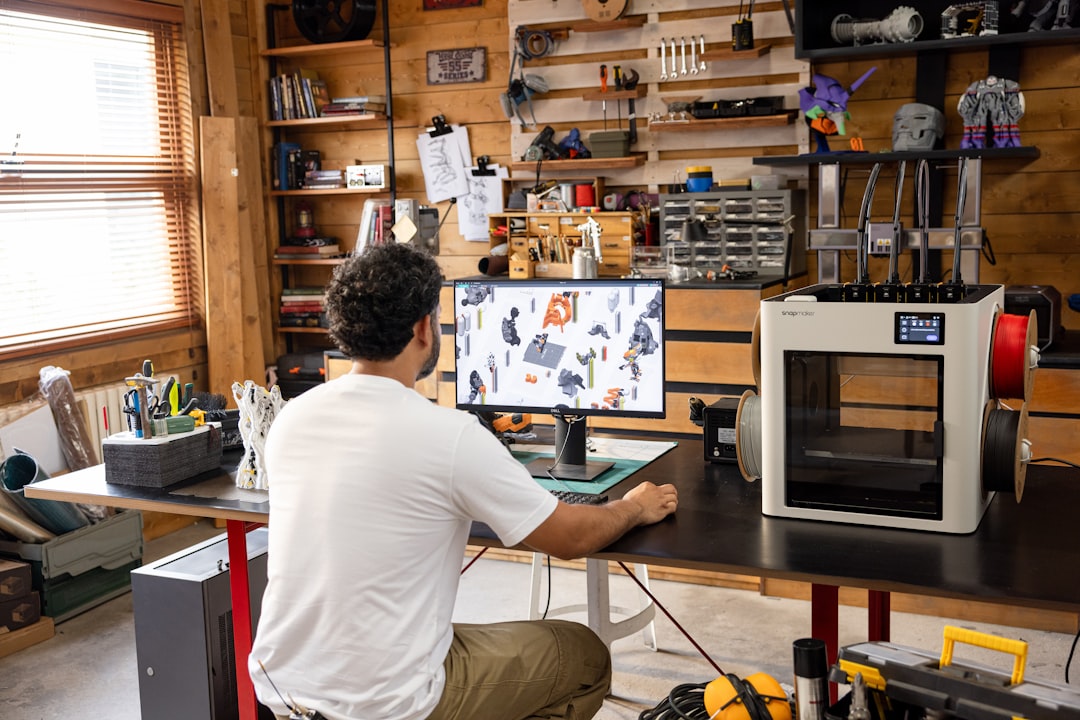
3D printing is not the only prototyping method, but it is one of the most accessible. A designer can create a model on a computer, send it to a printer, and have a physical part within hours or days. This speed helps teams make decisions based on real objects rather than assumptions.
- Faster iteration: Design changes can be made digitally and printed again without starting from scratch.
- Lower upfront cost: There is usually no need for molds, dies, or custom tooling.
- Design flexibility: Complex geometries, internal channels, and organic shapes are easier to produce.
- Better communication: Physical prototypes help stakeholders understand size, shape, and usability.
- Early problem detection: Fit, assembly, ergonomics, and functional issues can be identified before production.
Common Types of 3D Printing for Beginners
There are several 3D printing technologies, but beginners should focus on the most common and accessible options. Each has strengths and limitations, and the right choice depends on what the prototype needs to prove.
FDM Printing
FDM, or fused deposition modeling, is the most common desktop 3D printing method. It works by melting plastic filament and depositing it layer by layer. FDM printers are widely available, relatively affordable, and suitable for basic form models, mechanical tests, fixtures, and educational use.
Common FDM materials include PLA, PETG, ABS, and TPU. PLA is usually the best starting material because it is easy to print and dimensionally stable. PETG offers better toughness and chemical resistance, while TPU is flexible. ABS can be useful for stronger parts, but it requires more careful temperature control and ventilation.
SLA and Resin Printing
SLA and related resin printing technologies use light to cure liquid resin into solid layers. These printers can produce highly detailed, smooth parts, making them suitable for visual models, dental applications, jewelry prototypes, small components, and parts with fine details.
Resin printing requires more post-processing than FDM. Printed parts must usually be washed, cured, and handled with gloves because uncured resin can irritate the skin. For beginners, resin printing is powerful but demands more attention to safety and cleanup.
SLS Printing
SLS, or selective laser sintering, uses a laser to fuse powdered material, often nylon. It is commonly used for strong functional prototypes and small production runs. SLS does not require support structures in the same way FDM or resin printing does, which allows for more design freedom.
However, SLS printers are usually more expensive and are often accessed through professional printing services rather than home workshops. Beginners may use SLS once they need stronger, more accurate, or more production-like parts.
The Basic Rapid Prototyping Workflow
A reliable prototyping process does not begin with printing. It begins with a question. Before creating a model, define what the prototype is supposed to test. Is it the overall shape? The size? The strength? The way it fits with another part? The user experience?
- Define the objective: Decide what you need to learn from the prototype.
- Create or obtain a 3D model: Use CAD software or download a suitable model if appropriate.
- Prepare the print file: Use slicing software to set layer height, infill, supports, and print orientation.
- Print the prototype: Monitor the print, especially during the first layers.
- Post-process the part: Remove supports, sand surfaces, cure resin, or assemble pieces as needed.
- Test and evaluate: Compare the prototype against your design goals.
- Revise and repeat: Improve the design based on evidence, not guesswork.
This workflow is often repeated several times. In professional product development, multiple prototypes may be created for different purposes. One model might test ergonomics, another might test internal fit, and another might test mechanical strength.
Choosing the Right Material
Material choice has a direct impact on the usefulness of a prototype. A part printed in PLA may look correct but fail under heat or stress. A resin part may show fine detail but be too brittle for mechanical testing. Beginners should match the material to the purpose of the prototype.
- PLA: Best for early concept models, visual checks, and simple fit testing.
- PETG: Good for tougher prototypes, brackets, housings, and parts needing moderate durability.
- ABS: Useful for heat-resistant and impact-resistant prototypes, but more difficult to print.
- TPU: Suitable for flexible parts, grips, seals, and protective components.
- Standard resin: Good for detailed visual models but not always ideal for load-bearing parts.
- Engineering resin: Better for functional testing where stiffness, heat resistance, or toughness matters.
- Nylon: Often used for strong functional prototypes, especially through SLS printing.
Design Tips for Better 3D Printed Prototypes
Designing for 3D printing is different from designing for injection molding, CNC machining, or sheet metal fabrication. The printer’s limitations must be considered early. Ignoring these limits can lead to weak parts, failed prints, poor surface quality, or inaccurate dimensions.
Wall thickness is one of the most important factors. Very thin walls may break or fail to print correctly. For FDM, walls of at least 1.2 to 2 millimeters are often a practical starting point, depending on nozzle size and material. For resin printing, thin details can be sharper, but fragile features may still break during cleaning or curing.
Print orientation affects strength, appearance, and accuracy. FDM parts are usually weaker between layers than along the printed lines, so functional parts should be oriented with expected forces in mind. Orientation also affects the amount of support material required and the quality of visible surfaces.
Tolerances matter when parts must fit together. A hole designed at exactly 10 millimeters may print slightly smaller, depending on the printer and material. Beginners should test clearances with small calibration pieces before printing large assemblies. For snap fits, hinges, and threaded features, expect to make adjustments.
Understanding Prototype Types
Not every prototype needs to be strong, polished, or fully functional. A common beginner mistake is trying to make the first prototype too close to the final product. In practice, prototypes should be matched to the stage of development.
- Concept prototype: A rough model used to explore shape, size, and general direction.
- Form prototype: A model focused on appearance, ergonomics, and physical proportions.
- Fit prototype: A part used to check how components align, connect, or assemble.
- Functional prototype: A model used to test movement, strength, load, heat, or usability.
- Presentation prototype: A refined version used for pitches, demonstrations, or stakeholder reviews.
By identifying the prototype type, you can avoid wasting time on details that do not matter yet. An early concept model may not need perfect surface finishing. A fit test may not need the final color. A functional test may not need attractive cosmetics.
Essential Tools and Software
At minimum, rapid prototyping with 3D printing requires a 3D model, slicing software, a printer or printing service, and basic finishing tools. Beginners do not need to master everything at once, but understanding each part of the process is important.
CAD software is used to design the model. Beginner-friendly options often include simple solid modeling features, while professional tools provide advanced assembly, simulation, and manufacturing functions. The right CAD software depends on whether you are designing mechanical parts, organic shapes, architectural models, or artistic objects.
Slicing software converts the 3D model into printer instructions. It controls layer height, infill density, print speed, nozzle temperature, supports, and many other settings. Learning the slicer is just as important as learning the printer because poor settings can ruin a good design.
Basic physical tools may include flush cutters, pliers, deburring tools, sandpaper, calipers, glue, and safety gloves. A digital caliper is especially useful because it allows you to measure printed parts accurately and compare them to the CAD model.
Testing and Evaluating a Prototype
A prototype is only valuable if it is evaluated honestly. After printing, compare the part against the objective you defined earlier. Measure critical dimensions, assemble it with related components, apply realistic loads if safe, and observe how users interact with it.
Good testing should produce clear feedback. Instead of saying, “The part feels wrong,” identify what needs improvement: the handle is too narrow, the clip breaks after repeated use, the enclosure does not close properly, or the mounting holes are misaligned. Specific feedback leads to better revisions.
Image not found in postmeta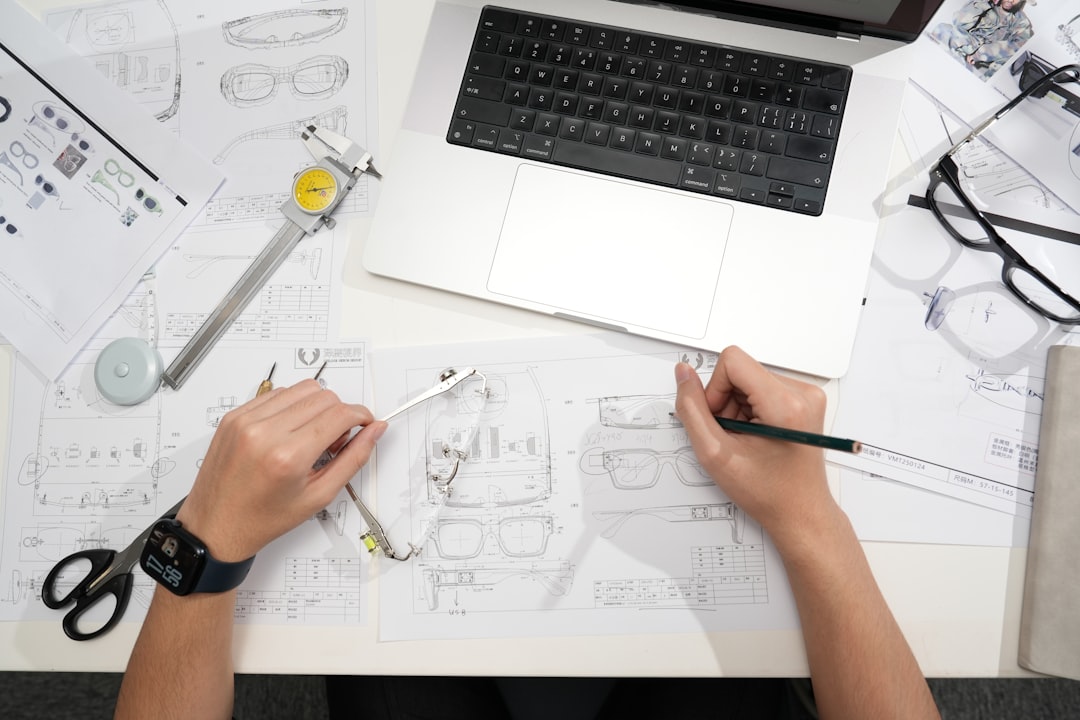
Common Beginner Mistakes
Most beginners experience failed prints and imperfect prototypes. This is normal. However, many problems can be reduced by avoiding common mistakes.
- Printing too large too soon: Test small sections before committing to long prints.
- Ignoring tolerances: Leave realistic clearance for moving or mating parts.
- Using the wrong material: Match material properties to the test you need to perform.
- Overlooking support material: Design with printability in mind to reduce difficult cleanup.
- Expecting final-product quality immediately: Prototyping is about learning, not perfection.
- Failing to document revisions: Keep notes on settings, dimensions, failures, and improvements.
When to Use a Printing Service
Buying a 3D printer is not always necessary. If you only need occasional prototypes, or if you require advanced materials and high accuracy, a professional printing service may be more efficient. Services can provide access to SLS, industrial resin, metal printing, and higher-end finishing processes.
A desktop printer is useful when speed, privacy, and frequent iteration are priorities. A service is useful when quality, strength, material selection, or capacity exceeds what a beginner printer can provide. Many serious projects use both: desktop printing for early iterations and professional printing for final validation prototypes.
Final Thoughts
Rapid prototyping with 3D printing gives beginners a powerful way to move from idea to evidence. It shortens the distance between design and reality, making it easier to discover problems early and improve with confidence. The key is to approach prototyping as a disciplined process rather than a one-time print.
Start with a clear question, choose appropriate materials and settings, test carefully, and revise based on what you learn. Over time, you will build practical judgment about design, tolerances, materials, and printer behavior. In serious product development, that judgment is often just as valuable as the prototype itself.